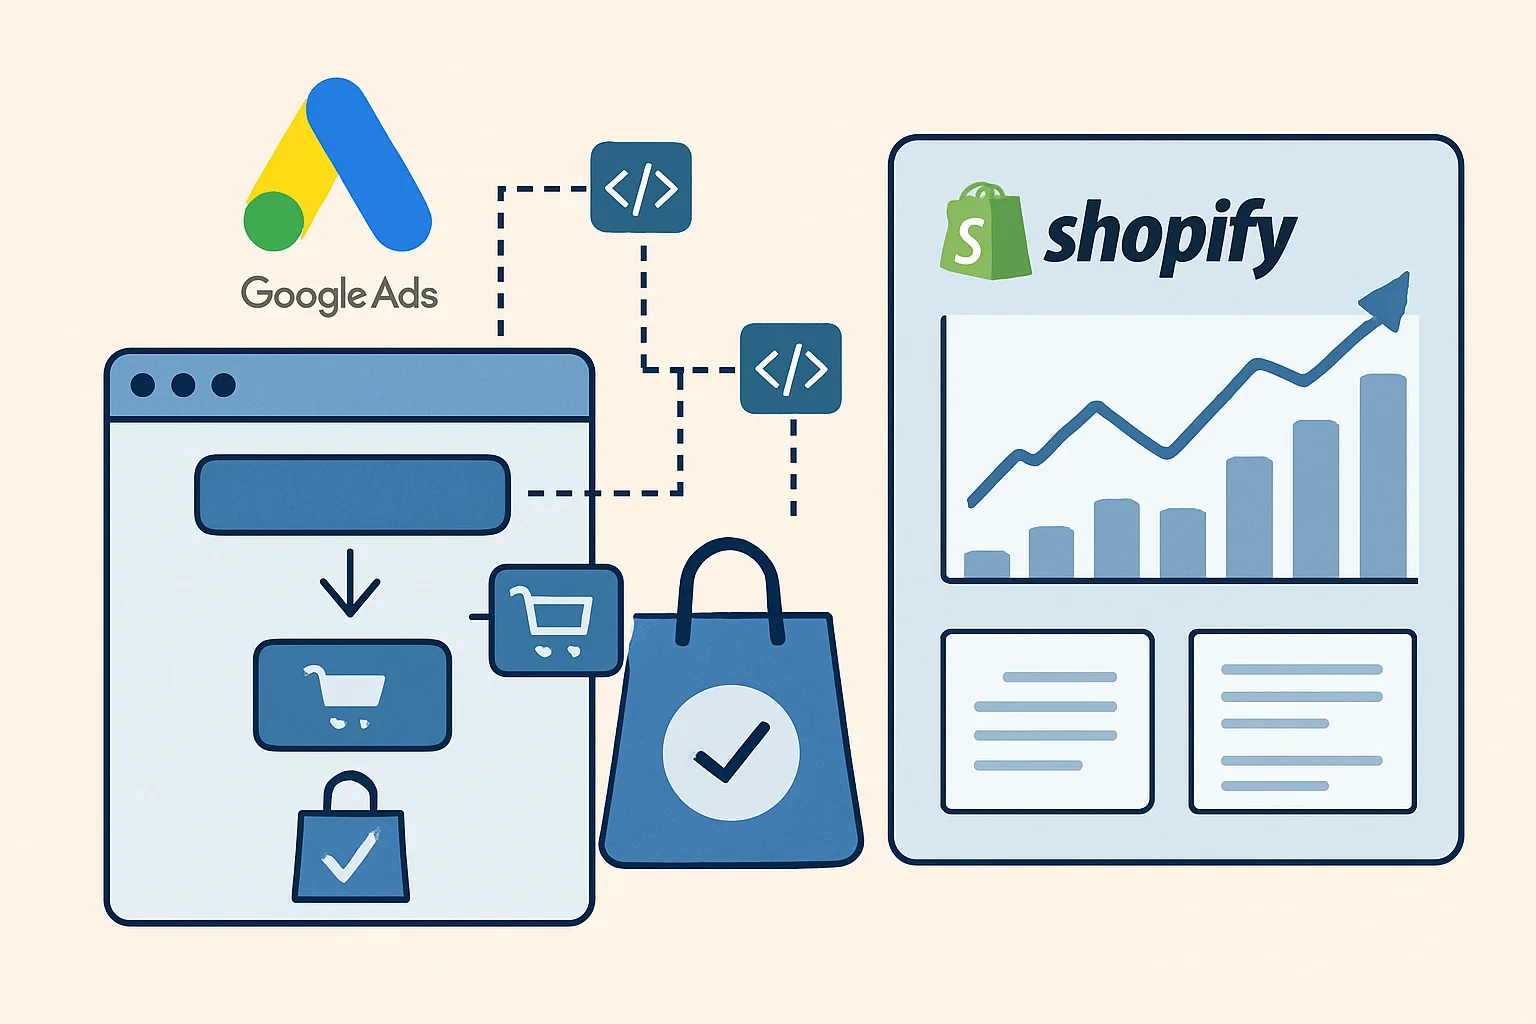
Shopify and Google Ads: A Deceptively Complex Setup
Shopify's native Google integration makes it look easy to connect your store to Google Ads. But "easy" often means "inaccurate." The default integration creates duplicate conversions, misses enhanced conversion data, and may conflict with other tracking tools you have installed.
This guide covers how to set up accurate, professional-grade Google Ads conversion tracking for your Shopify store — whether you are starting fresh or cleaning up an existing messy setup.
What You Need to Track
For a Shopify store, the primary conversions you want in Google Ads are:
- Purchase (primary): with dynamic transaction value and order ID for deduplication
- Add to Cart (secondary): useful for remarketing audiences, not for bidding
- Initiate Checkout (secondary): funnel visibility
- Page View (secondary — optional): product page views for product-specific remarketing
Method 1: Native Shopify Google Sales Channel (Simple)
Shopify has a built-in Google and YouTube sales channel app that installs the Google tag and sets up basic conversion tracking automatically.
What it does well: Installs the global site tag, tracks purchases with dynamic transaction values, handles the order status page correctly.
What it does poorly: Does not support enhanced conversions, may conflict with other installed Google tags, and gives you limited control over the tag configuration.
Recommended for: Simple stores with no other analytics tools, or as a starting point if you are new to Google Ads tracking.
Method 2: Google Tag Manager on Shopify (Recommended)
For accurate, flexible, and professional tracking, install Google Tag Manager on your Shopify store and manage all Google tags through GTM.
Installing GTM on Shopify
- Create a GTM container for your Shopify store
- In Shopify: Online Store then Themes then Edit code
- Open theme.liquid (or layout/theme.liquid)
- Paste the GTM container snippet in the head section (GTM JavaScript) and at the start of the body element (GTM noscript iframe)
- Save the file
Note: Shopify's checkout pages are on a different domain (checkout.shopify.com on some plans). On Shopify Plus, you can add GTM to the checkout using the checkout.liquid file. On standard plans, you can only add it to the order status (thank-you) page via the Additional Scripts box in Settings then Checkout.
Setting Up the Purchase Data Layer
On the order status page (Settings then Checkout then Additional Scripts), add this data layer code before the GTM snippet:
<script>
window.dataLayer = window.dataLayer || [];
dataLayer.push({
  event: "purchase",
  ecommerce: {
    transaction_id: "{{ order.order_number }}",
    value: {{ checkout.total_price | divided_by: 100.0 }},
    currency: "{{ shop.currency }}",
    items: [
      {%- for line_item in checkout.line_items -%}
      {
        item_id: "{{ line_item.product.id }}",
        item_name: "{{ line_item.product.title | escape }}",
        item_variant: "{{ line_item.variant.title | escape }}",
        price: {{ line_item.price | divided_by: 100.0 }},
        quantity: {{ line_item.quantity }}
      }{%- unless forloop.last -%},{%- endunless -%}
      {%- endfor -%}
    ]
  },
  user_data: {
    email: "{{ customer.email }}",
    first_name: "{{ customer.first_name | escape }}",
    last_name: "{{ customer.last_name | escape }}"
  }
});
</script>
Creating the Google Ads Purchase Conversion Tag in GTM
- In GTM: Tags then New then Google Ads Conversion Tracking
- Enter Conversion ID and Conversion Label from your Google Ads conversion action
- Set Conversion Value to the Data Layer Variable reading ecommerce.value
- Set Currency Code to the Data Layer Variable reading ecommerce.currency
- Set Order ID to the Data Layer Variable reading ecommerce.transaction_id (critical for deduplication)
- Enable "Include user-provided data" and select a User Provided Data variable that reads from user_data in the data layer (for enhanced conversions)
- Set trigger: Custom Event equals "purchase"
- Test in GTM Preview Mode by completing a real purchase or using Shopify's test order feature
- Publish
Avoiding Duplicate Conversions on Shopify
Shopify order status pages can be visited multiple times — the customer may reload the page or return to it later. Without deduplication, this fires multiple purchase conversions for one order.
Two layers of protection:
- Order ID in the conversion tag: Google ignores conversions with the same Order ID received within 24 hours. Always pass the transaction_id in your tag.
- Conversion count set to Every: For purchases, this is correct (one customer CAN buy multiple times). But the Order ID deduplication handles the refresh issue.
Enabling Enhanced Conversions on Shopify
Enhanced conversions recover purchase attributions lost to Safari ITP and ad blockers. On Shopify, you already have the customer email available on the order status page from the Liquid template above.
If your GTM tag includes a User Provided Data variable reading from user_data.email in the data layer, enhanced conversions will automatically send the hashed customer email with each purchase conversion.
Enable enhanced conversions in Google Ads: Tools and Settings then Conversions then your purchase conversion action then Enhanced conversions then Turn on.
Checking for Conflicts
Common conflict scenarios on Shopify:
- Shopify Google Sales Channel + GTM tags: the native integration installs a global site tag that may conflict with your GTM-managed tags. Check by looking at network requests on your order confirmation page — if two separate gtag calls fire, you have a conflict. Solution: disable the Shopify Google Sales Channel conversion tracking and manage everything through GTM.
- Multiple apps with Google tags: many Shopify apps (reviews apps, loyalty apps, analytics apps) install their own Google or GA4 tags. These can create duplicate conversion tracking. Audit installed apps for any that add Google tags.
Verifying Your Shopify Conversion Tracking
- Place a real test order (Shopify lets you use a payment gateway in test mode)
- On the order confirmation page, open GTM Preview and confirm the purchase event fires exactly once with the correct value and order ID
- Check Google Tag Assistant — the Google Ads Conversion tag should show as fired with the correct Conversion ID and Label
- Wait 48 hours and check Google Ads — the purchase should appear in your conversion data
Summary
Shopify conversion tracking for Google Ads requires attention to three things: accurate purchase data layer setup on the order status page, order ID deduplication, and enhanced conversions for maximum attribution coverage.
Avoid relying solely on Shopify's native Google Sales Channel for conversion tracking — it provides limited control and is a common source of duplicate conversions when other tools are installed.
For professional Shopify conversion tracking setup, see our Google Ads Conversion Tracking service and our Google Tag Manager setup service.
Need accurate conversion tracking for your Shopify store? Contact Adslytics.
Need expert tracking setup?
Our Google Tag Manager experts have delivered 500+ tracking setups with a 98% success rate.
Get a Free Consultation →