Why Server-Side GTM for CAPI?
Server-side Google Tag Manager (sGTM) runs in a cloud container — a server you control — rather than in the user's browser. It receives events from your website, enriches them, and forwards them to multiple platforms (Meta, Google Ads, GA4) server-side. For Facebook CAPI, sGTM is the most flexible implementation method: it uses your existing GTM workflow, centralises all server-side tracking in one place, and works with any website platform.
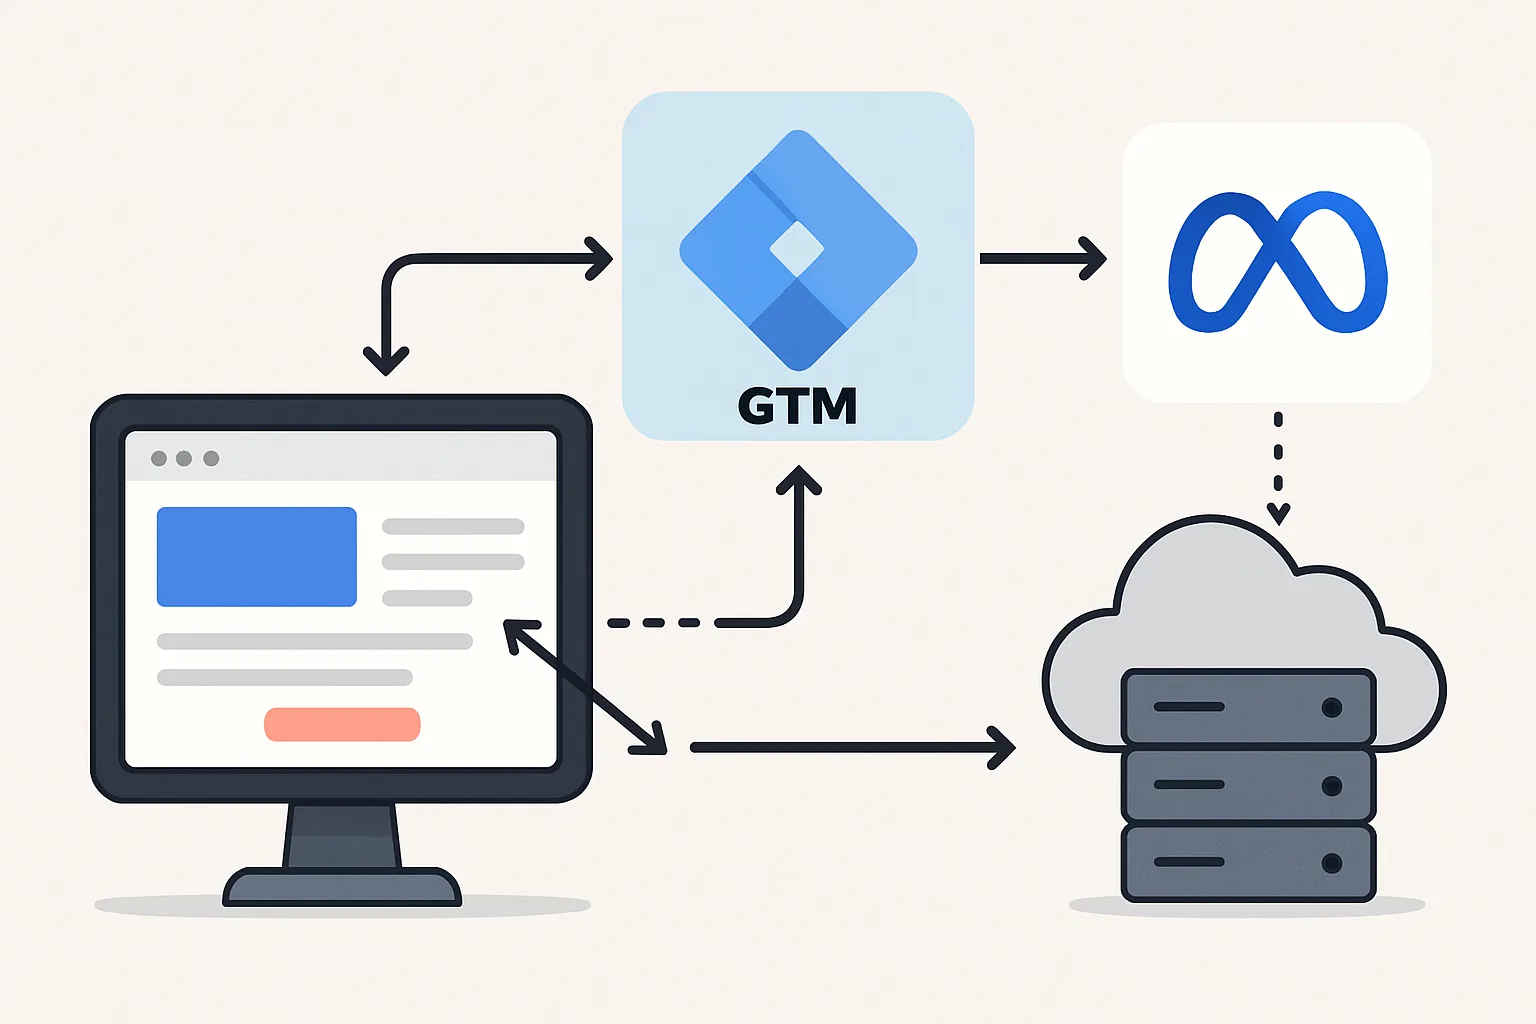
Architecture Overview
- Web browser → sends events to your sGTM container URL (tagging server)
- sGTM container → receives events, enriches with user data
- sGTM → forwards to Meta CAPI endpoint
- sGTM → forwards to GA4 (measurement protocol)
- sGTM → forwards to Google Ads
Step 1: Create a Server-Side GTM Container
- tagmanager.google.com → New Account → Create Container
- Container type: Server
- Create the container and copy the Container Config string
Step 2: Deploy the Tagging Server
Options:
- Google Cloud Run (easiest): click "Automatically provision tagging server" in the GTM setup flow. Google deploys the container on Cloud Run. Cost: ~$20-50/month for typical traffic.
- Custom server (any cloud provider): deploy the open-source sGTM image on your own infrastructure. More control, potentially lower cost at scale.
- Stape.io or similar managed services: managed sGTM hosting with simpler setup. Recommended if you do not want to manage cloud infrastructure.
Step 3: Configure the Web GTM Container to Forward to sGTM
In your web GTM container:
- Add a GA4 Configuration Tag with your Measurement ID
- Set "Server container URL" to your tagging server URL (e.g. https://track.yourdomain.com)
- This tells the web browser to send GA4 events to your sGTM server instead of directly to Google
Step 4: Install the Facebook Tag in sGTM
- In the Server container: Tags then New
- Search for "Facebook Conversions API" tag template (from the Community Template Gallery)
- Configure:
- Pixel ID: your Facebook Pixel ID
- Access Token: generated in Events Manager → your Pixel → Settings → Generate Access Token
- Event Name: map from the incoming event data
- Customer information: map hashed email, hashed phone, browser client info from the incoming event
- Trigger: "All Events" or a custom trigger for specific event names (purchase, lead, etc.)
Step 5: Verify Event Deduplication
With both browser Pixel and sGTM CAPI running, Meta will receive two events per action. Configure event_id to be the same on both:
- In the browser Pixel:
fbq('track', 'Purchase', data, {eventID: 'ORDER-123'}) - In sGTM Facebook tag: map event_id to the same order ID from the incoming GA4 event
Meta uses event_id to deduplicate — without it, every conversion is double-counted.
Step 6: Test in Events Manager
- Meta Business Suite then Events Manager then your Pixel
- Test Events tab
- Enter your website URL and trigger test events
- Events should appear with "Browser" (from Pixel) and "Server" (from CAPI) labels
- Deduplication should reduce the count to 1 per actual event
Summary
sGTM-based Facebook CAPI requires four components: a sGTM server container, a tagging server deployment, web GTM forwarding events to the server, and the Facebook CAPI tag in sGTM. Event deduplication via event_id is the critical step that prevents double-counting. The whole setup typically takes 4-8 hours of configuration time.
See our Facebook CAPI Setup service for sGTM implementation.
Need sGTM-based CAPI set up? Contact Adslytics.
Need expert tracking setup?
Our Google Tag Manager experts have delivered 500+ tracking setups with a 98% success rate.
Get a Free Consultation →