What You Are Setting Up
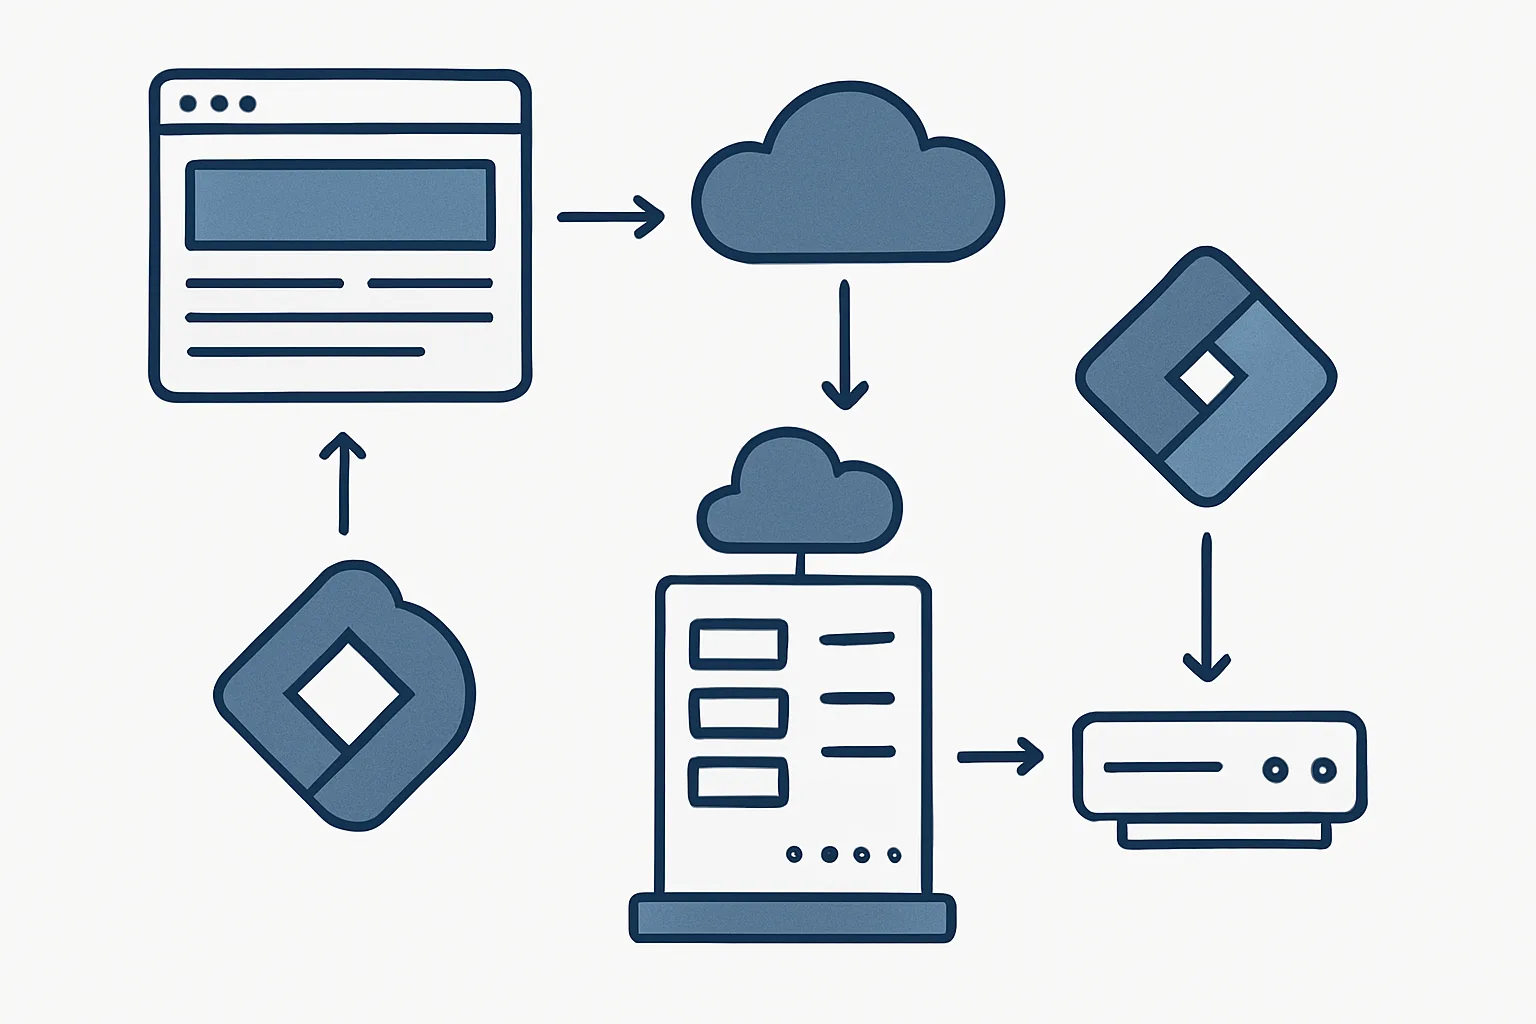
Server-side GTM (sGTM) consists of two components working together:
- A tagging server: a cloud server running the GTM server container, which receives events and forwards them to analytics platforms
- A web GTM container (modified): your existing GTM setup, updated to send events to your tagging server instead of directly to analytics platforms
This guide walks through setting up both. See our full Server-Side Tracking service for professional implementation.
Step 1: Create a Server Container in GTM
- Go to tagmanager.google.com and open your GTM account
- Click the account name (not a container) and select "Create Container"
- Name it (e.g. "YourSite - Server") and select "Server" as the target platform
- Click Create
- GTM provides a "Container Config" URL — copy this. You will need it when deploying the tagging server.
Step 2: Deploy the Tagging Server
You need a server to run the GTM server container. Options:
Option A: Google Cloud Run (Recommended for most)
- Open Google Cloud Console and create a new project (or use existing)
- Enable Cloud Run and billing
- Use the GTM server provisioning script: in the GTM server container Settings, click "Automatically provision tagging server"
- Follow the wizard — it deploys the sGTM image to Cloud Run automatically
- Note the Cloud Run service URL (ends in .run.app)
Option B: Stape.io (Managed Hosting)
Stape manages the infrastructure for you. Create an account at stape.io, paste your Container Config URL, and Stape deploys and maintains the server. Monthly cost from ~$20. Best option if you want to avoid managing cloud infrastructure.
Step 3: Configure a Custom Domain for the Tagging Server
You need the tagging server to run on your own subdomain (e.g. collect.yoursite.com) for first-party context — not on the default .run.app URL. This is what extends cookie lifetimes and improves ad blocker resistance.
- In your DNS provider, create a CNAME record: collect.yoursite.com → your Cloud Run or Stape URL
- In Cloud Run or Stape: add your custom domain and verify ownership
- SSL certificate is provisioned automatically by Cloud Run and most hosting solutions
- Wait for DNS propagation (typically 5-30 minutes)
Step 4: Update Your Web GTM Container
Modify your web GTM container to send events to your tagging server instead of directly to Google/Meta:
For GA4:
- In your web GTM Google Tag: add a "Configuration Settings" field: server_container_url = https://collect.yoursite.com
- This routes all GA4 events through your tagging server
For Google Ads:
The GA4 routing covers Google Ads signals that flow through GA4. For direct Google Ads conversion tags, keep them in the web GTM container — Google Ads conversion tracking uses a different mechanism.
Step 5: Configure Tags in the Server Container
In your GTM server container:
- Add a GA4 client: this receives incoming events from your website
- Add a GA4 tag: this forwards events to Google Analytics
- Add a Meta CAPI tag: this forwards events to Meta's Conversions API
- Publish the server container
Step 6: Verify
- In the server GTM container, click Preview (server-side preview)
- Browse your website — events should appear in the server container's debug panel
- Check GA4 DebugView — events should arrive with a server source
- Verify in your server's logs that events are being received and forwarded without errors
Summary
Server-side GTM setup involves creating a server container, deploying a tagging server on a cloud host, configuring a custom subdomain, and updating your web GTM to route through the server. The process takes a few hours for someone comfortable with cloud infrastructure, or a day for a first-time setup.
For professional implementation, see our Server-Side Tracking service.
Ready to set up server-side tracking? Contact Adslytics.
Need expert tracking setup?
Our Google Tag Manager experts have delivered 500+ tracking setups with a 98% success rate.
Get a Free Consultation →