Why Internal Traffic Filtering Matters
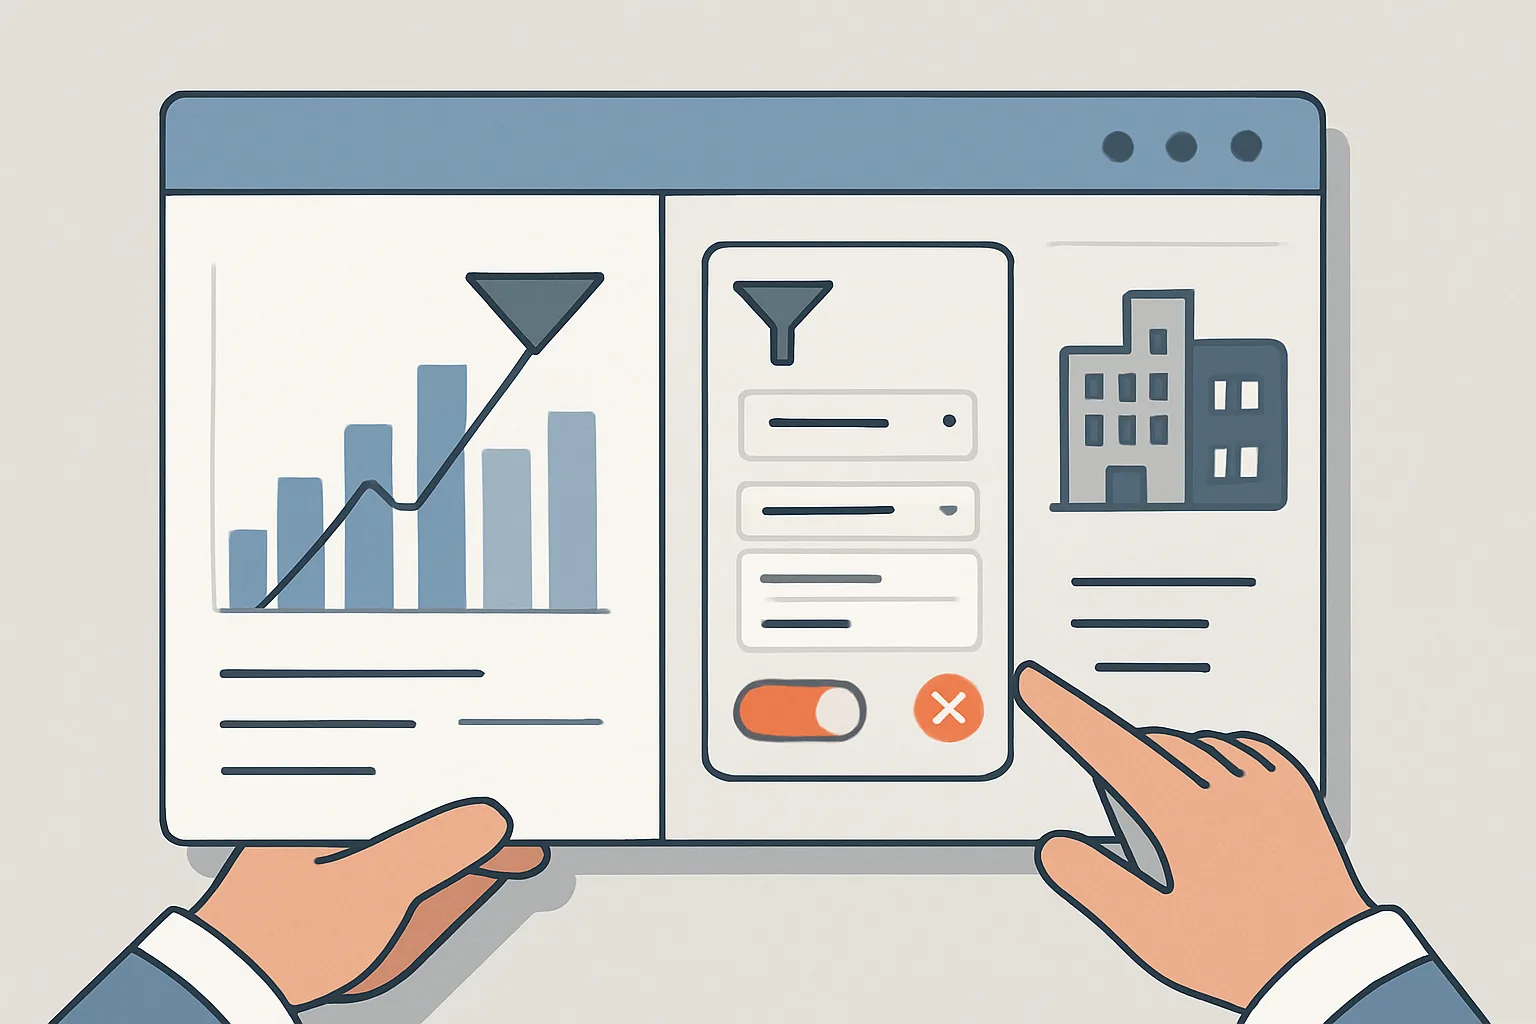
Your team browses your website daily — checking content, testing features, debugging issues, running demos. Each of these visits registers as a session in GA4, inflating your session count, lowering your conversion rate (your team rarely converts), and distorting your channel data. For small businesses where internal traffic is 5-10% of total sessions, this is a significant distortion.
Setting Up Internal Traffic Filtering in GA4
GA4 filters are a two-step process: define the filter condition, then activate it as a Data Filter.
Step 1: Define Internal Traffic
- Admin then Data Streams then your web stream
- Scroll to "Google Tag" section then "Configure tag settings"
- Click "Define internal traffic"
- Click "Create"
- Name it (e.g. "Office IP")
- Set traffic_type value to "internal" (this is the label that will be applied)
- IP address condition: choose "IP address equals" and enter your office's IP address
- Add multiple IP ranges if your team works from multiple offices or uses a VPN with a fixed IP
- Save
Step 2: Activate the Data Filter
- Admin then Data Filters
- You will see an "Internal Traffic" filter already created (in Testing mode by default)
- Click it to open
- Change from "Testing" to "Active"
- Save
While in Testing mode, the filter marks internal traffic with a dimension value but does not exclude it. Once set to Active, internal traffic is excluded from all GA4 reports.
Testing Filters Before Activating
Before activating any filter, verify it works correctly using Testing mode:
- Leave the filter in Testing mode
- Browse your website from your office network
- In GA4 DebugView: check if your sessions show
traffic_type = internal - Once confirmed, set the filter to Active
Important: GA4 Data Filters apply going forward from activation. They do not retroactively remove historical internal traffic. Historical data remains as collected.
Filtering Developer and Testing Traffic
If developers regularly browse your site in localhost or staging environments, their traffic typically does not reach your production GA4 property (because staging usually uses a different Measurement ID). However, if you use the same GA4 property for staging, create a separate Data Filter to exclude those sessions.
A simpler approach: ensure staging and production use different GA4 Measurement IDs. This is cleaner than trying to filter staging traffic from your production property.
Excluding Spam and Bot Traffic
GA4 filters bot traffic automatically based on Google's known bot list. You cannot add custom bot exclusions in GA4 (unlike Universal Analytics where you could manually tick "Exclude bot traffic"). If you see suspicious traffic patterns:
- Very high session count from a single country with 0% engagement rate
- Sessions with no events beyond session_start
- Referral spam (referrals from domains you do not recognise)
Create a Developer Data Filter using the filter condition "Hostname doesn't contain [your domain]" — this filters sessions where the page hostname is not your actual domain, which catches many referral spam attacks.
Checking If Your Filter Is Working
After activating your internal traffic filter, compare session counts before and after the filter date. A reduction in sessions-per-day (typically 5-15% for most businesses) confirms the filter is working. Also check: your conversion rate should increase slightly (your team rarely converts, so removing their sessions improves the rate).
Summary
Internal traffic filtering is one of the foundational data quality steps in GA4. Without it, your metrics are systematically distorted by your own team's behaviour. Set it up in the first week of a new GA4 property, before your team starts working with the site and creating test data.
See our GA4 Setup & Audit service for complete data quality configuration.
Need cleaner GA4 data? Contact Adslytics.
Need expert tracking setup?
Our Google Tag Manager experts have delivered 500+ tracking setups with a 98% success rate.
Get a Free Consultation →