Why Set Up Microsoft Clarity Today
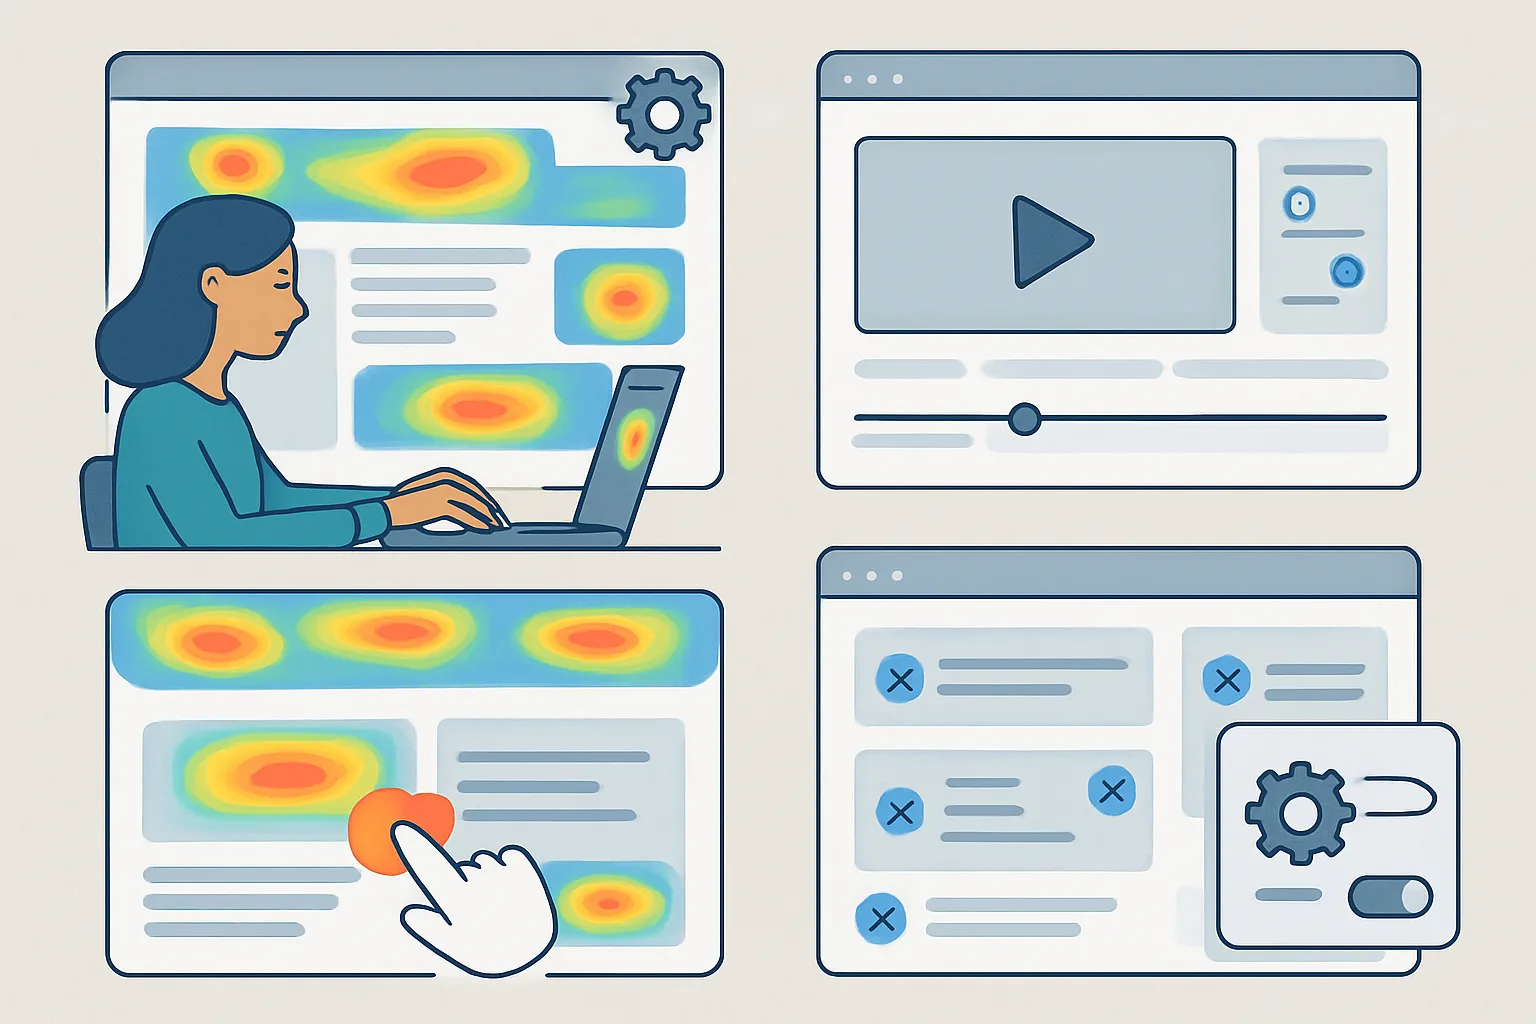
Microsoft Clarity is completely free with no session limits — there's no reason not to have it running on every website you manage. It provides heatmaps, session recordings, and frustration signals that would cost £100–£500/month with competing tools.
The setup takes under 30 minutes. Our CRO team installs it via GTM on every client site as a standard baseline.
Step 1: Create a Clarity Account
- Go to clarity.microsoft.com and sign in with a Microsoft account (or create one free)
- Click "Add new project"
- Enter your website name and URL
- Select your industry category (helps Clarity benchmark your metrics)
- Copy your Project ID (format: a string of ~10 characters)
Step 2: Install the Clarity Tag via GTM (Recommended)
Installing via Google Tag Manager is cleaner than adding the script directly to your HTML — it keeps all tracking in one place and allows easy management.
Option A: Clarity's Native GTM Template
- In GTM, go to Tags → New
- Click "Tag Configuration" and search for "Microsoft Clarity" in the Community Template Gallery
- Select the official Microsoft Clarity template
- Enter your Project ID
- Set trigger: All Pages (Page View)
- Save and publish
Option B: Custom HTML Tag
If the template isn't available, use a Custom HTML tag with the Clarity snippet from your dashboard. Paste it inside the Custom HTML tag and set trigger to All Pages.
Step 3: Verify Installation
- In GTM, use Preview mode to verify the tag fires on your site
- Visit your site with the GTM preview active
- Check Clarity dashboard — recordings should start appearing within minutes
- Use Clarity's browser extension for real-time verification
Step 4: Connect GA4 Integration
Clarity integrates with Google Analytics 4 to let you filter recordings by GA4 segments and see behavior data for specific audiences.
- In Clarity dashboard, go to Settings → Integrations
- Select "Google Analytics"
- Choose GA4 and authorize with your Google account
- Select the GA4 property for this website
After integration, you can filter Clarity recordings by GA4 metrics like "users who completed a conversion" or "sessions from organic search."
Step 5: Privacy and Masking Configuration
Clarity automatically masks sensitive data (passwords, credit card fields). Review additional masking settings:
- Go to Settings → Masking
- Set masking level to "Balanced" (masks text in form fields by default)
- Add custom CSS selectors for any sensitive content that should be masked (e.g., personal information in your account pages)
- Enable "Mask all content" for pages with especially sensitive data (medical, financial)
Under GDPR, decide whether Clarity requires consent from users before loading. In strict interpretations, session recording is analytics tracking and requires consent. Include the Clarity tag in your consent management setup.
Step 6: Configure Alerts (Rage Clicks)
- In Clarity, go to Settings → Notifications
- Enable email notifications for "Rage click spike" on your key pages
- Set threshold appropriate to your traffic volume
Rage click alerts tell you when something breaks on your site before your support inbox fills up.
Getting Value From Day 1
After 7–14 days of data collection, start with:
- Check heatmaps on your homepage and pricing page
- Filter recordings for "rage click" sessions on your checkout page
- Review scroll depth on your most important landing pages
Our CRO team provides systematic Clarity analysis as part of conversion optimization engagements. Contact us for a Clarity data review after 30 days of collection.
Need expert tracking setup?
Our Google Tag Manager experts have delivered 500+ tracking setups with a 98% success rate.
Get a Free Consultation →