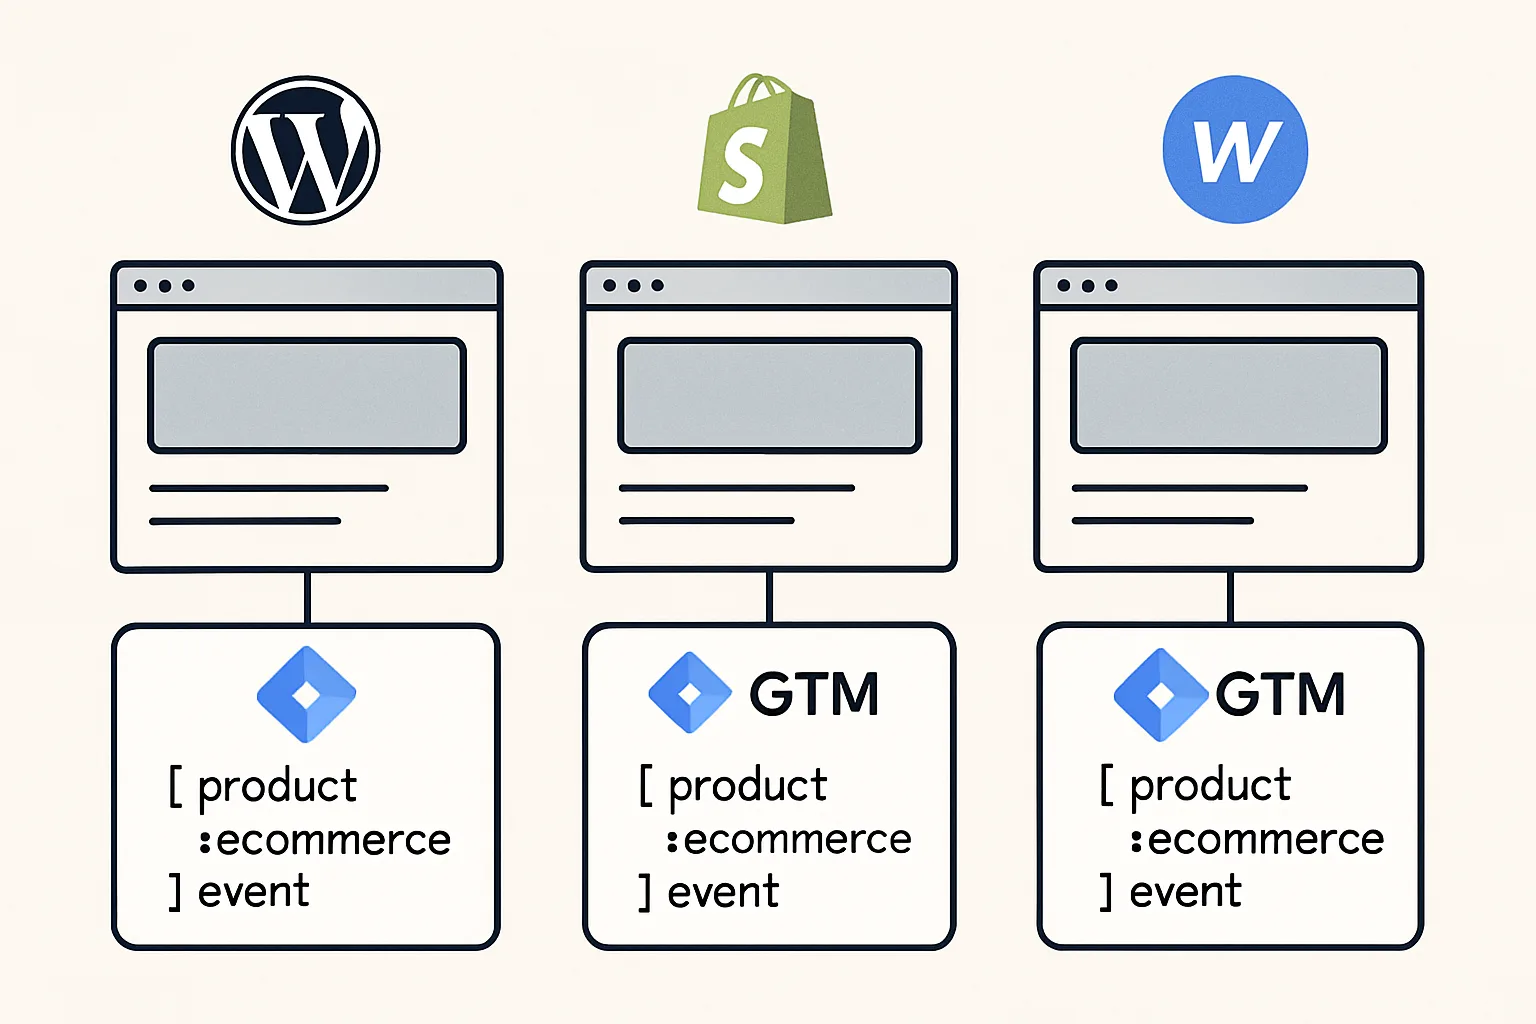
Platform Differences in Data Layer Implementation
The GTM data layer always works the same way technically — JavaScript pushes to window.dataLayer. What varies between platforms is how you get server-side data (order values, product details, user IDs) into the page's HTML where JavaScript can read and push it.
WordPress Data Layer Implementation
WordPress gives full control over PHP templates. Server-side data is embedded in the page using wp_localize_script or inline script output in PHP templates:
<?php
// In functions.php or a template file
function push_page_data_layer() {
    $data_layer = [
        'pageType' => is_shop() ? 'category' : (is_product() ? 'product' : 'other'),
    ];
    // Add WooCommerce order data on thank you page
    if (is_wc_endpoint_url('order-received')) {
        $order_id = absint(get_query_var('order-received'));
        $order = wc_get_order($order_id);
        if ($order) {
            $data_layer['event'] = 'purchase';
            $data_layer['ecommerce'] = [
                'transaction_id' => $order->get_order_number(),
                'value'          => floatval($order->get_total()),
                'currency'       => get_woocommerce_currency(),
            ];
        }
    }
    echo '<script>window.dataLayer = window.dataLayer || []; window.dataLayer.push(' . json_encode($data_layer) . ');</script>';
}
add_action('wp_head', 'push_page_data_layer', 5);
Shopify Data Layer Implementation
Shopify's Liquid templates allow server-side data injection but restrict access to checkout pages. The recommended approach:
<!-- In theme.liquid (all pages) -->
<script>
window.dataLayer = window.dataLayer || [];
window.dataLayer.push({
  'pageType': '[[page.template_name]]',
  'customerLoggedIn': true,
  'userId': '[[customer.id]]'
});
</script>

<!-- In order-status.liquid (confirmation page) -->
<script>
window.dataLayer = window.dataLayer || [];
window.dataLayer.push({ecommerce: null});
window.dataLayer.push({
  'event': 'purchase',
  'ecommerce': {
    'transaction_id': '[[order.order_number]]',
    'value': 99.99,
    'currency': '[[shop.currency]]'
  }
});
</script>
Note: Shopify's new checkout (Checkout Extensibility) limits what Liquid templates can do on order confirmation — use Shopify Customer Events (custom pixel) for checkout-stage tracking.
Webflow Data Layer Implementation
Webflow is a website builder without a server-side backend. Data layer pushes must be done entirely client-side via custom code embeds:
<!-- Webflow custom code embed (Page Settings or Site Settings -->
<script>
window.dataLayer = window.dataLayer || [];
// For Webflow Ecommerce order confirmation page (available from URL params)
const orderId = new URLSearchParams(window.location.search).get('order-id');
if (orderId) {
  window.dataLayer.push({
    'event': 'purchase',
    'ecommerce': {
      'transaction_id': orderId,
      // Value requires Webflow CMS API call or manual input — Webflow doesn't expose it client-side easily
    }
  });
}
</script>
Webflow's limitation: order value is not readily available client-side. For accurate purchase tracking on Webflow, consider using Webflow's webhook to trigger a server-side CAPI call, or use Make/Zapier to pull order data and push to GA4 via Measurement Protocol.
Summary
WordPress (WooCommerce) gives the most control — inject data layer pushes via PHP template hooks with server-rendered order data. Shopify allows Liquid-templated data layer pushes on most pages but requires Customer Events for checkout stages. Webflow is most limited — data layer values must come from URL parameters, DOM scraping, or client-side API calls since there is no server-side template access. For accurate purchase tracking on any platform, server-side approaches (custom PHP, CAPI, Measurement Protocol) are more reliable than client-side only.
See our GTM Data Layer Implementation service for platform-specific setup.
Need data layer set up on your platform? Contact Adslytics.
Need expert tracking setup?
Our Google Tag Manager experts have delivered 500+ tracking setups with a 98% success rate.
Get a Free Consultation →